Carter Bearing Guide Tutorial
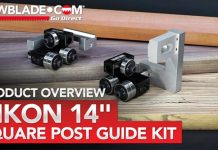
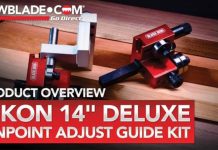
This is this is a Carter Delta 14 guide upgrade kit. It comes with a lower guide, upper guide, a new guard attachment, because the old blade guard will not retro fit to the new one. Finally, the kit includes a set of screws which are Allen head that make it a lot easier to install the lower unit, and of course instructions for installation.
If you upgrade your saw with a riser block, make sure to get the guard attachment with the slot so that you can add your new extended guard.
All right, let’s walk through the steps of dismantling the old block guides and installation of your new bearing guides
- First, we will ensure the work area is clean and that our saw is unplugged.
- Second, let’s remove the blade out of our way, loosen the blade just enough to see slack between the wheel and the blade, then pull it off the band wheels. This makes reinstallation of the blade much easier. Remove the table pin and slide the blade out.
- Next, let’s remove our table by removing the table screws underneath, this will allow us to access the bottom guides.
- Now, let’s remove the trunnion to make accessing the lower guide bolts easier and to allow you to see what we have going on.
- Next, we can remove the factory lower guide, following the top guide removal. Make sure to keep your lower factory blade guard to reinstall later.
- The top guides are much easier to remove loosen just one bolt and it slides right off.
- The bottom guides are attached by two bolts and can be accessed by sliding the guides forwards and then backwards.
- Now that you have removed the lower guides lets clean up the machine and install our new guide kit.
